What are blend shapes in 3D animation, and how do you use them? Easy to set up, blend shapes can give you very organic feeling movements. In recent tutorials, we've looked at 3D art workflows, how to smooth or harden your 3D models and making a 3D model animation-ready. From here on, we're going to start to gently ease our way into slightly more advanced areas of 3D.
The first thing we’ll look at are blend shapes, which are used in animation as a way to change the shape of a model over time. Note that the terminology varies across the best animation software. Maya calls them blend shapes, while Blender calls them shape keys and Unreal Engine 5 calls them morph targets.
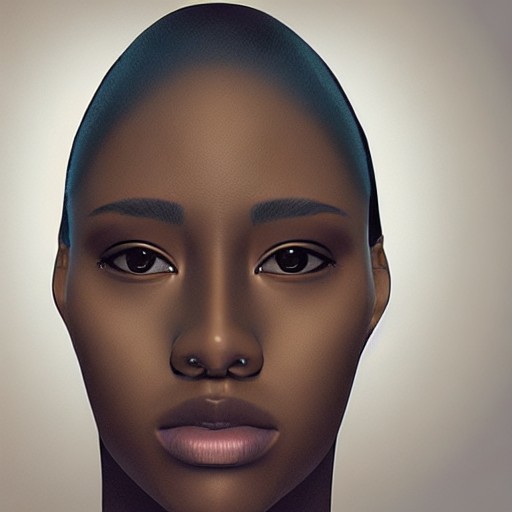
Imagine a face in a neutral pose, one which needs to smile. Well, a blend shape would be perfect for this because adding a smile ‘morph target and connecting it to the main model will let us blend gradually to the smile and back again. The way they work is you are essentially animating each vertex on the main model, telling them to go from point A to point B, point B being where the same vertex now exists on the smile morph target.
The downside is that they travel in a direct line, from A to B, so blend shapes are no good for animating something that needs to follow an arc, like an eyelid moving over an eyeball. What’s great about blend shapes is they are easy to set up but can give very organic feeling movements, so let’s take a look at how we go about setting them up.
If you need a device to work on, see our guides to the best laptops for animation and the best drawing tablets.